DIY Wedding Program
Since it is wedding season, I thought I would share with you what our DIY wedding programs looked like. When designing them, I did a lot of research on different styles. I designed them myself as well as printed and assembled them.
Since the primary color of our wedding was pink, I picked out pink card stock to use. While you may not be able to easily see, I used a brown ink. I guess you could say our colors were pink and brown for the wedding as well, but mainly I felt like the black ink was just too harsh. I played around with the style for a while. I ultimately knew I wanted a book style program, but I wasn't sure exactly how I wanted it to look. I opted for simplicity and avoided making as many cuts as possible. Below are a few of my tests:

Test one on white copy paper

Test one on white copy paper

Test one on white copy paper
Test two: changed up font and printed on pink paper
Test two: changed up font and printed on pink paper

Test two: changed up font and printed on pink paper

Test two: changed up font and printed on pink paper

Test three: add a graphic and some lines
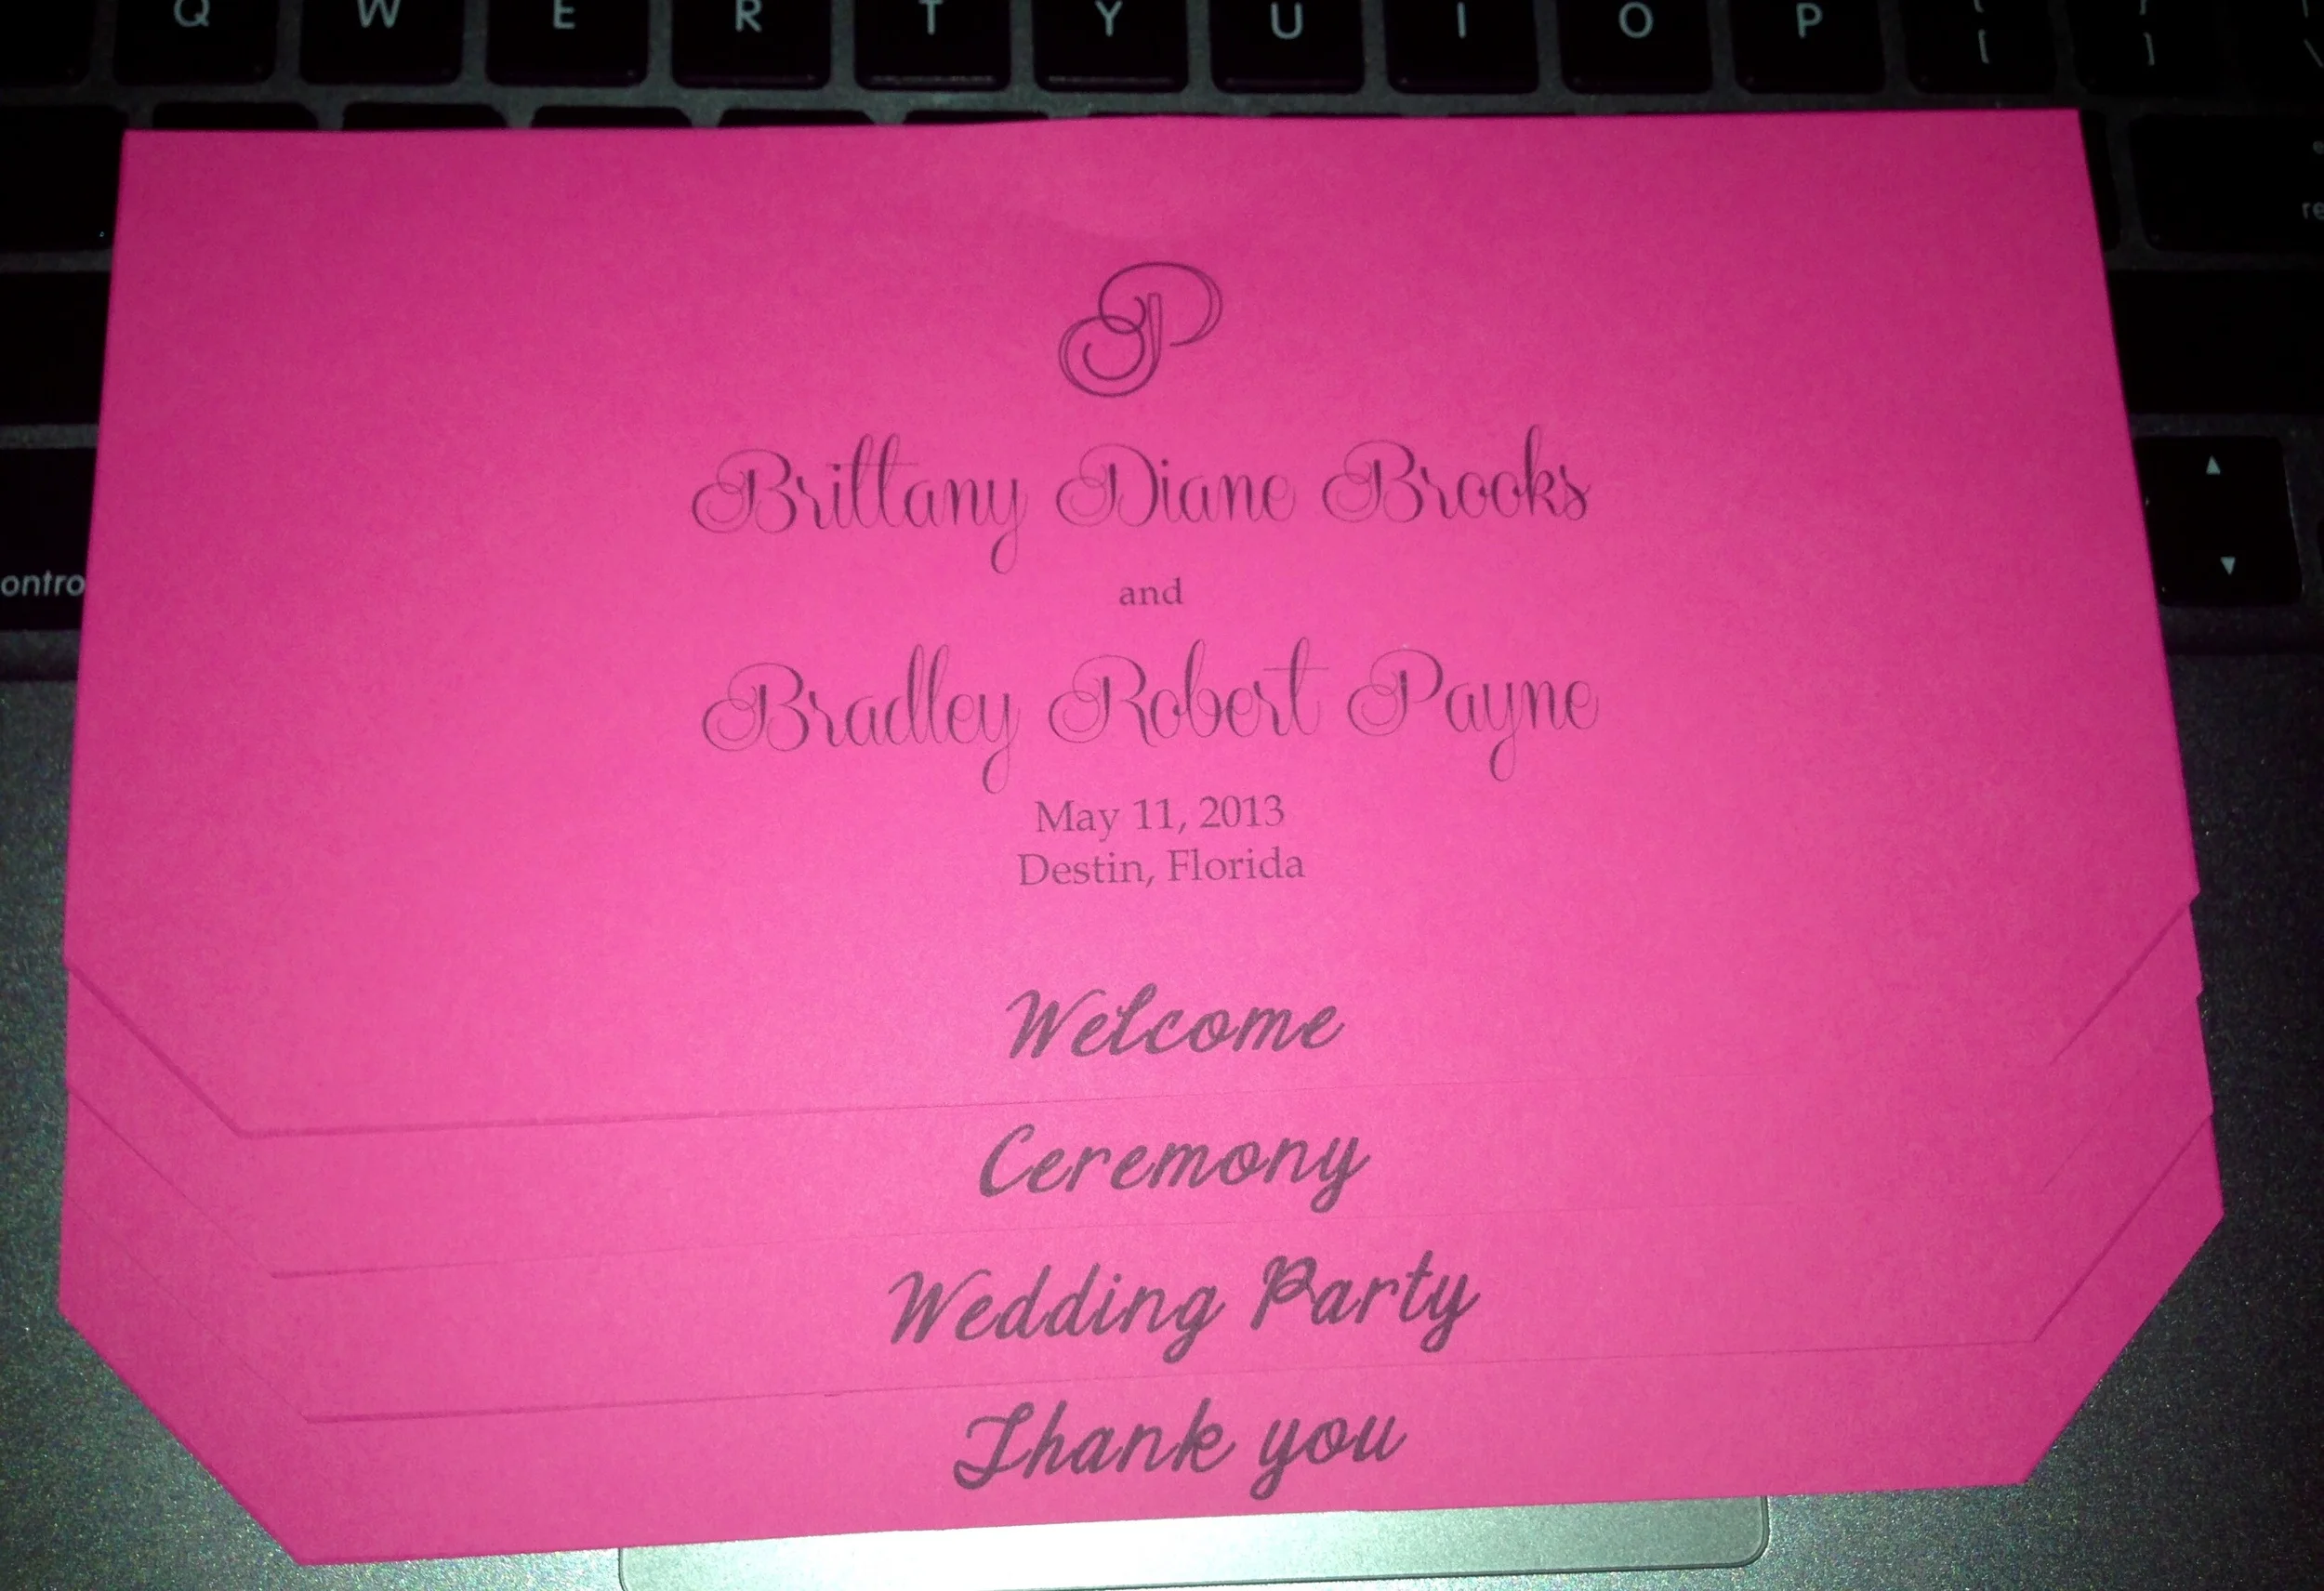
We ultimately decided to do a portrait style program. This kept the cut simple, we just simply cut the page in half. I also decided to keep it rectangular rather than add any additional cuts. I did have to download fonts to get the ones I wanted. I designed the entire program in Microsoft Office Word.
The "Welcome" page was the first page of the program. It was also the shortest page in length. Here I simply had my new initial along with our full names, date, and wedding location.

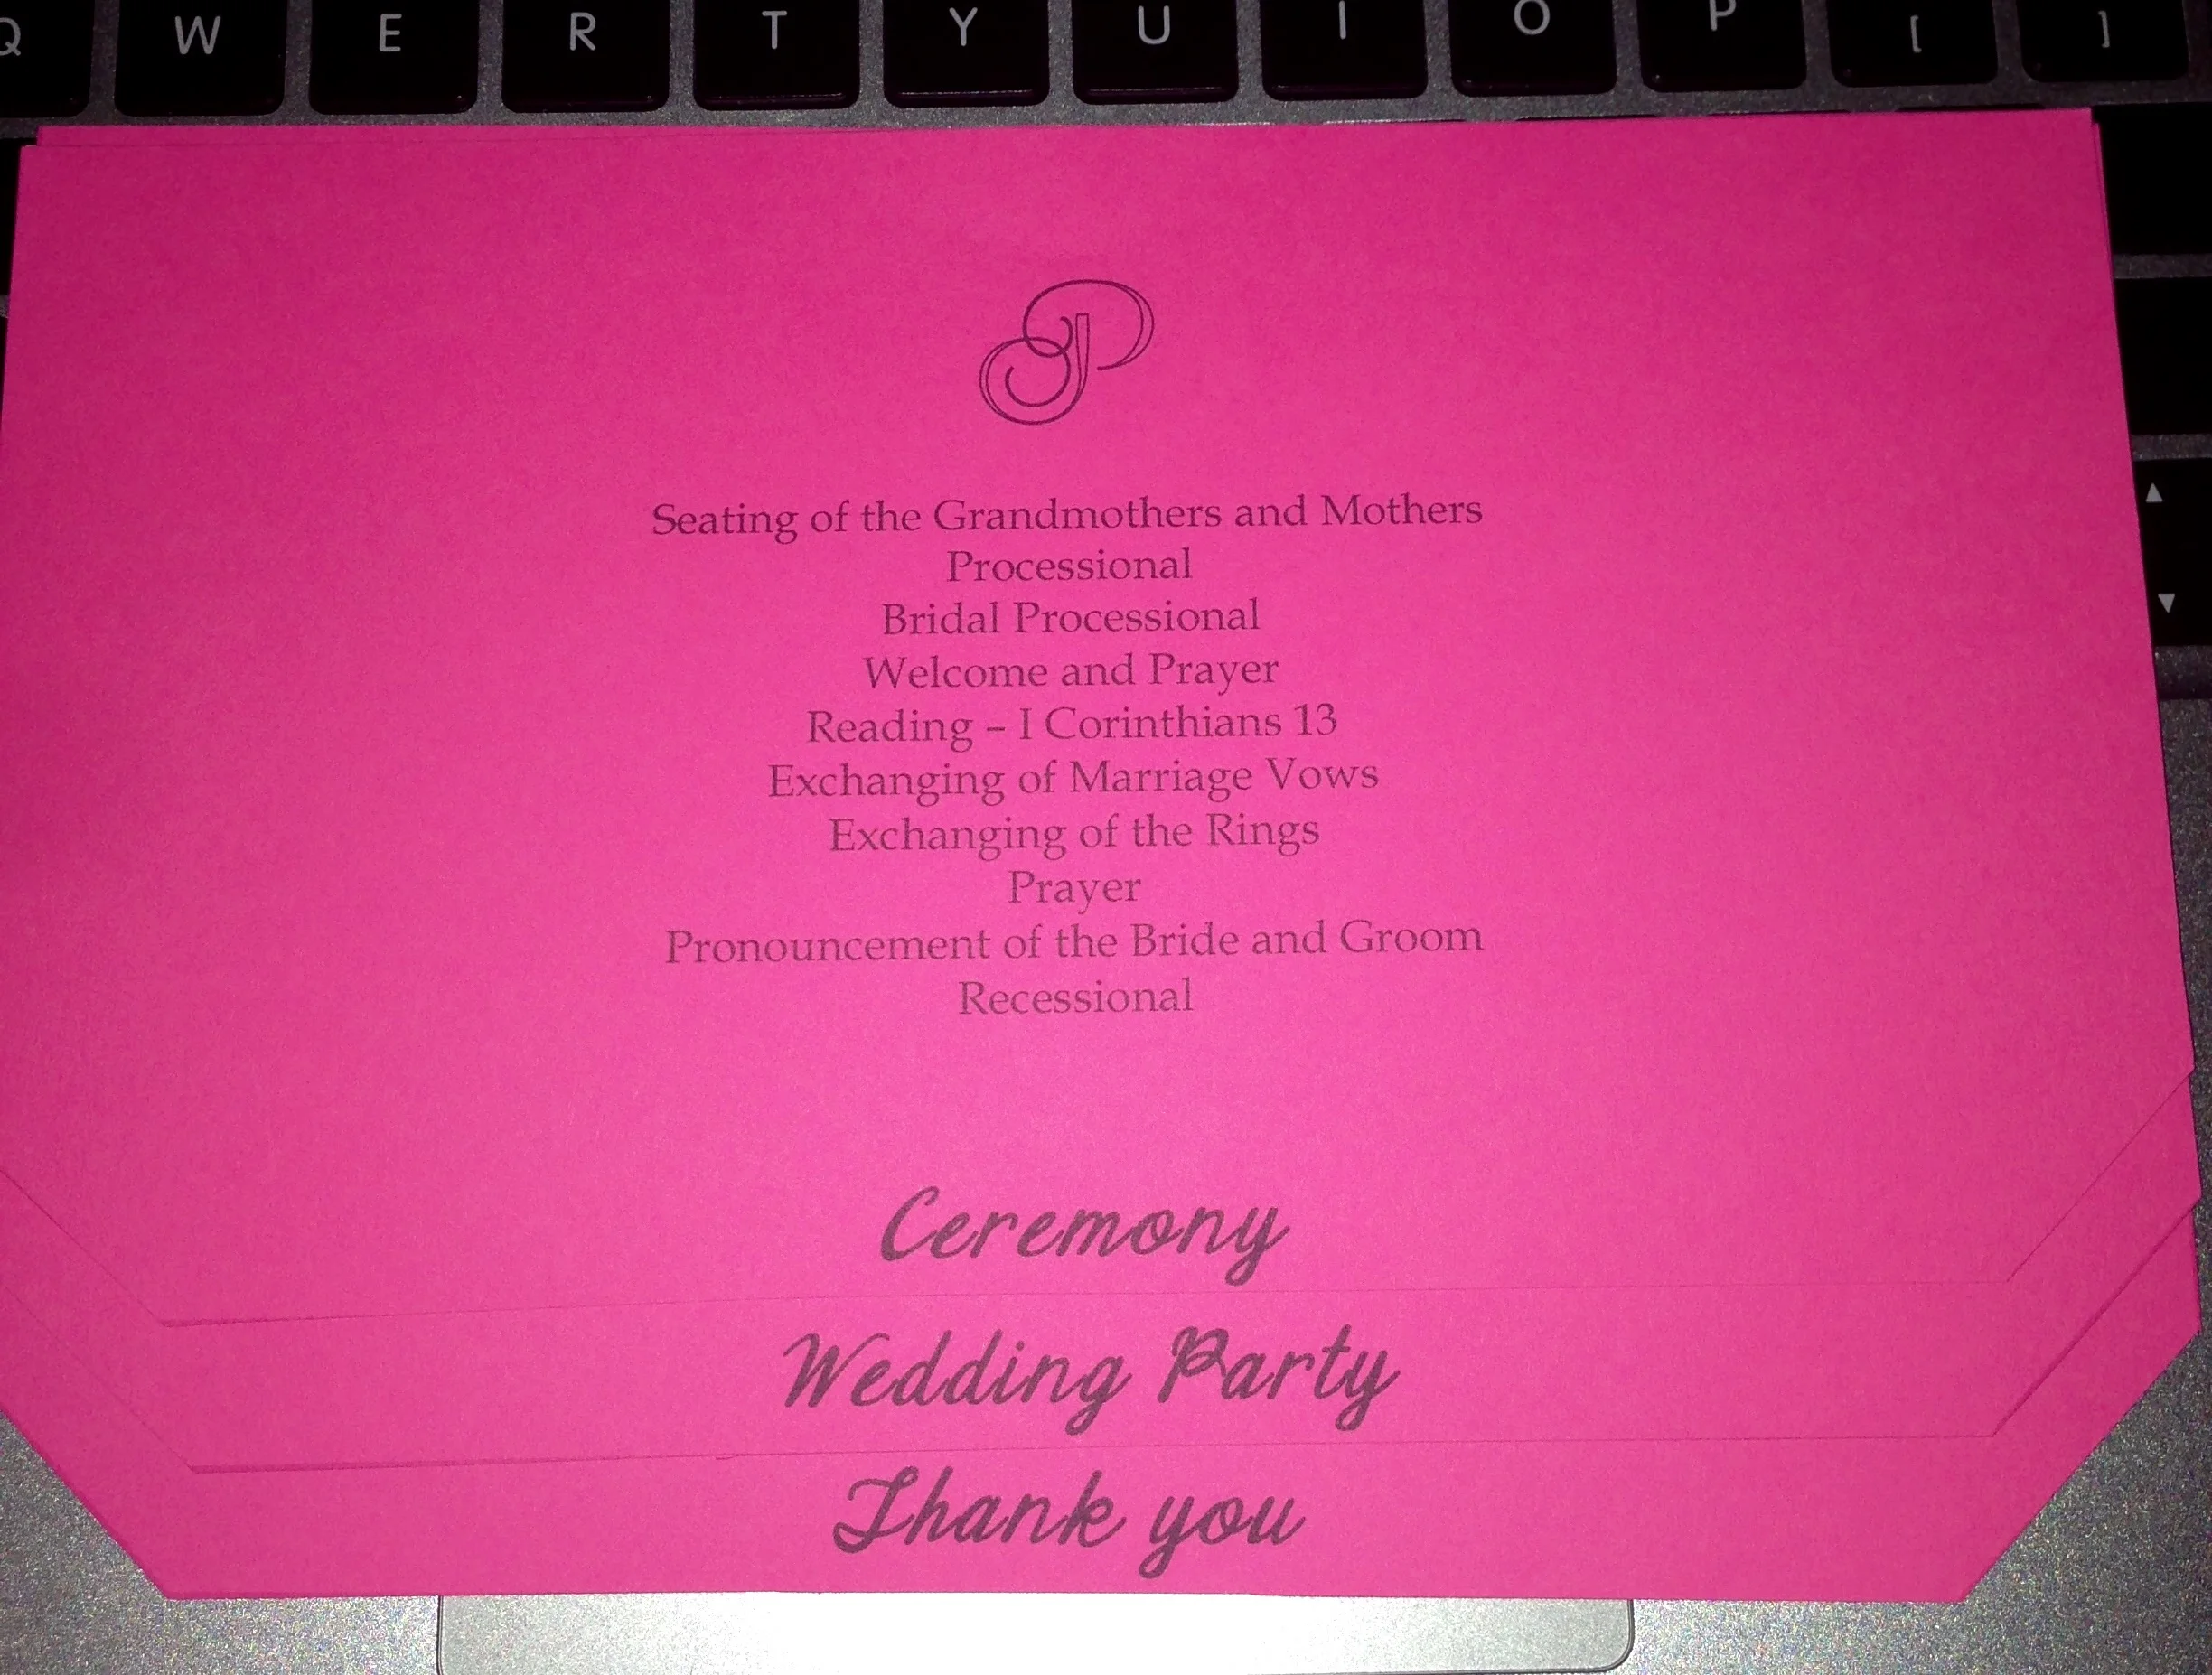
Our "Ceremony" page simply provided our guests with a general idea of the layout of the entire ceremony. This page was slightly longer than the "Welcome" page so that the guests could read the words "Ceremony". Our pastor let us design our own ceremony. He gave us a copy of previous ceremonies he had performed, then Brad and I went word for word through each one making one that was unique for us. If applicable, I listed the names of the person under each listing within the ceremony (i.e. Special Prayer: Hillard Romans).

Our "Wedding Party" page was slightly longer than the "Ceremony" page. This listed the entire wedding party including parents and grandparents. You can see the exact layout below, but in each "group" I would always start with the Bride's side first.

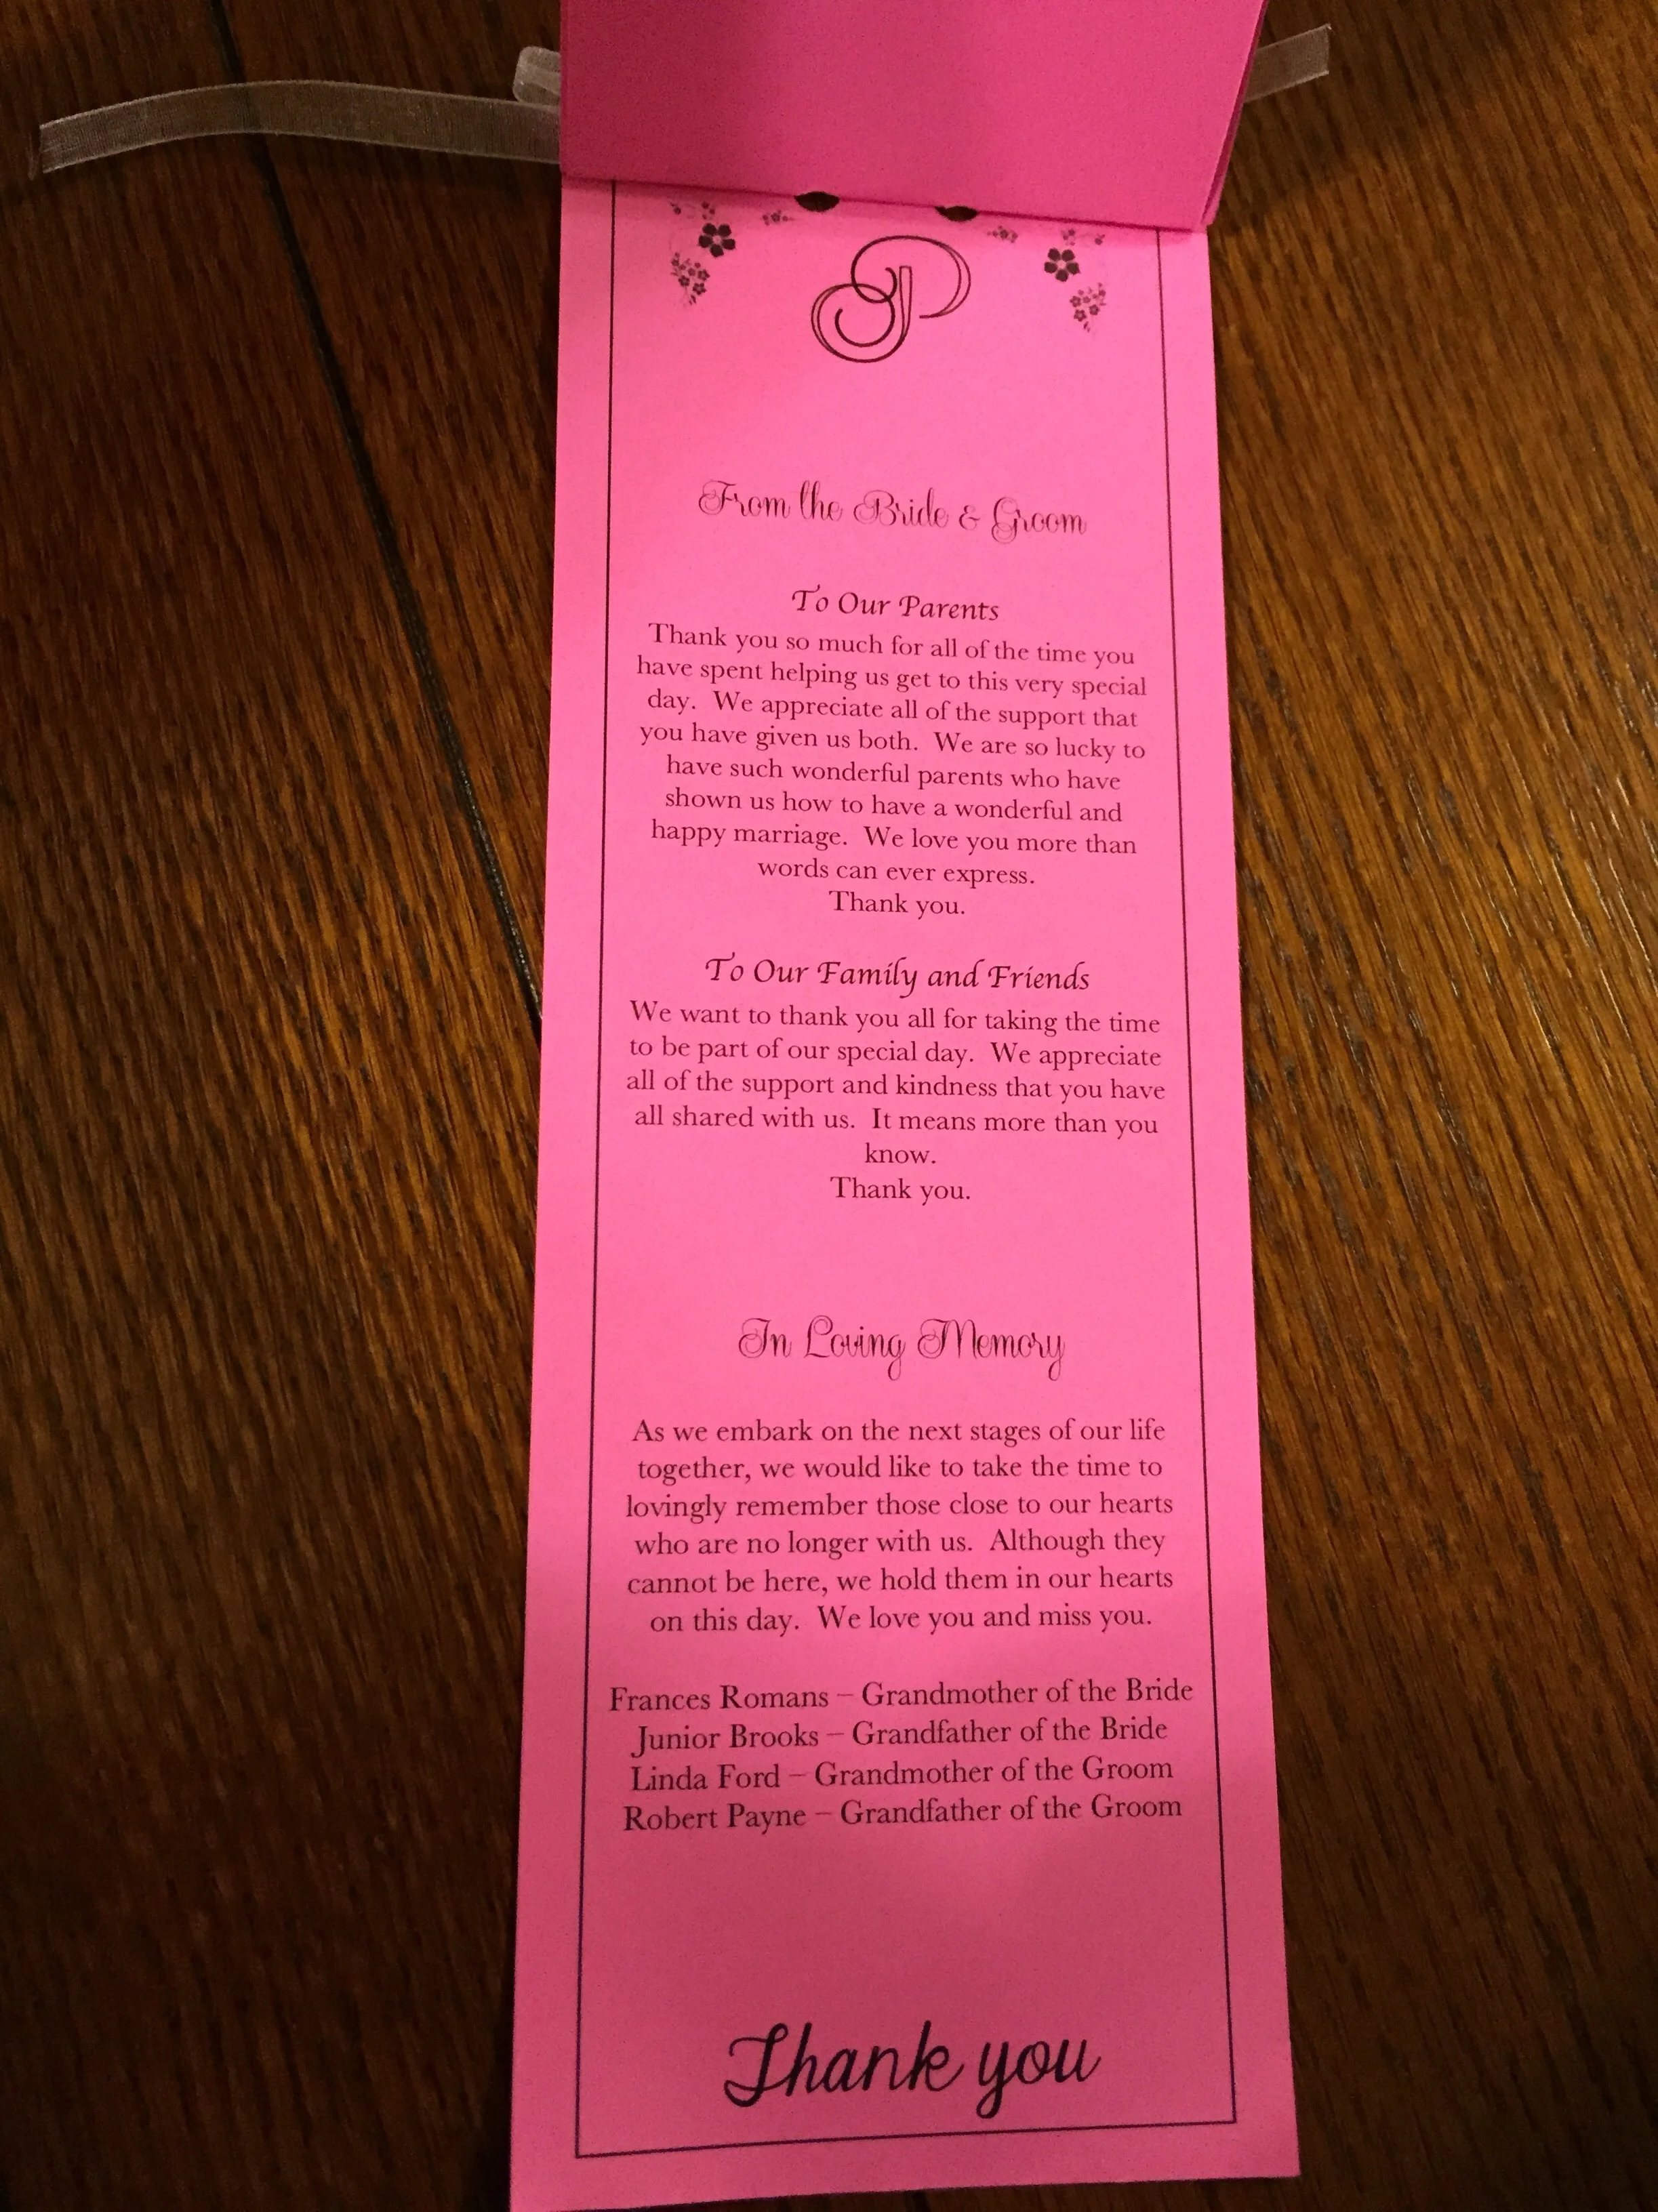
Our "Thank You" page was something I really wanted to incorporate. It was the length of the card stock. You don't always see the thank you in programs, but I wanted to extend our appreciation to not only our parents, but all of our family and friends that made it to our destination wedding (we had approximately 100 people!). We also wanted to have a special section recognizing the family members who had passed away.
We stocked up on ink and paper and printed quite a few programs. I figured it was better safe than sorry, so I printed approximately 150. This required 300 sheets of paper. We had printed the same parts on the same sheet to make cutting easier, then just grouped together afterwards. I purchased a paper cutter from Hobby Lobby which was very useful.

Assembly Line
To attach the four parts, I used a hole punch and punched two holes in the top of each page. I purchased small, white organza ribbon that I pulled through the holes and tied into a bow.

Assembly Line
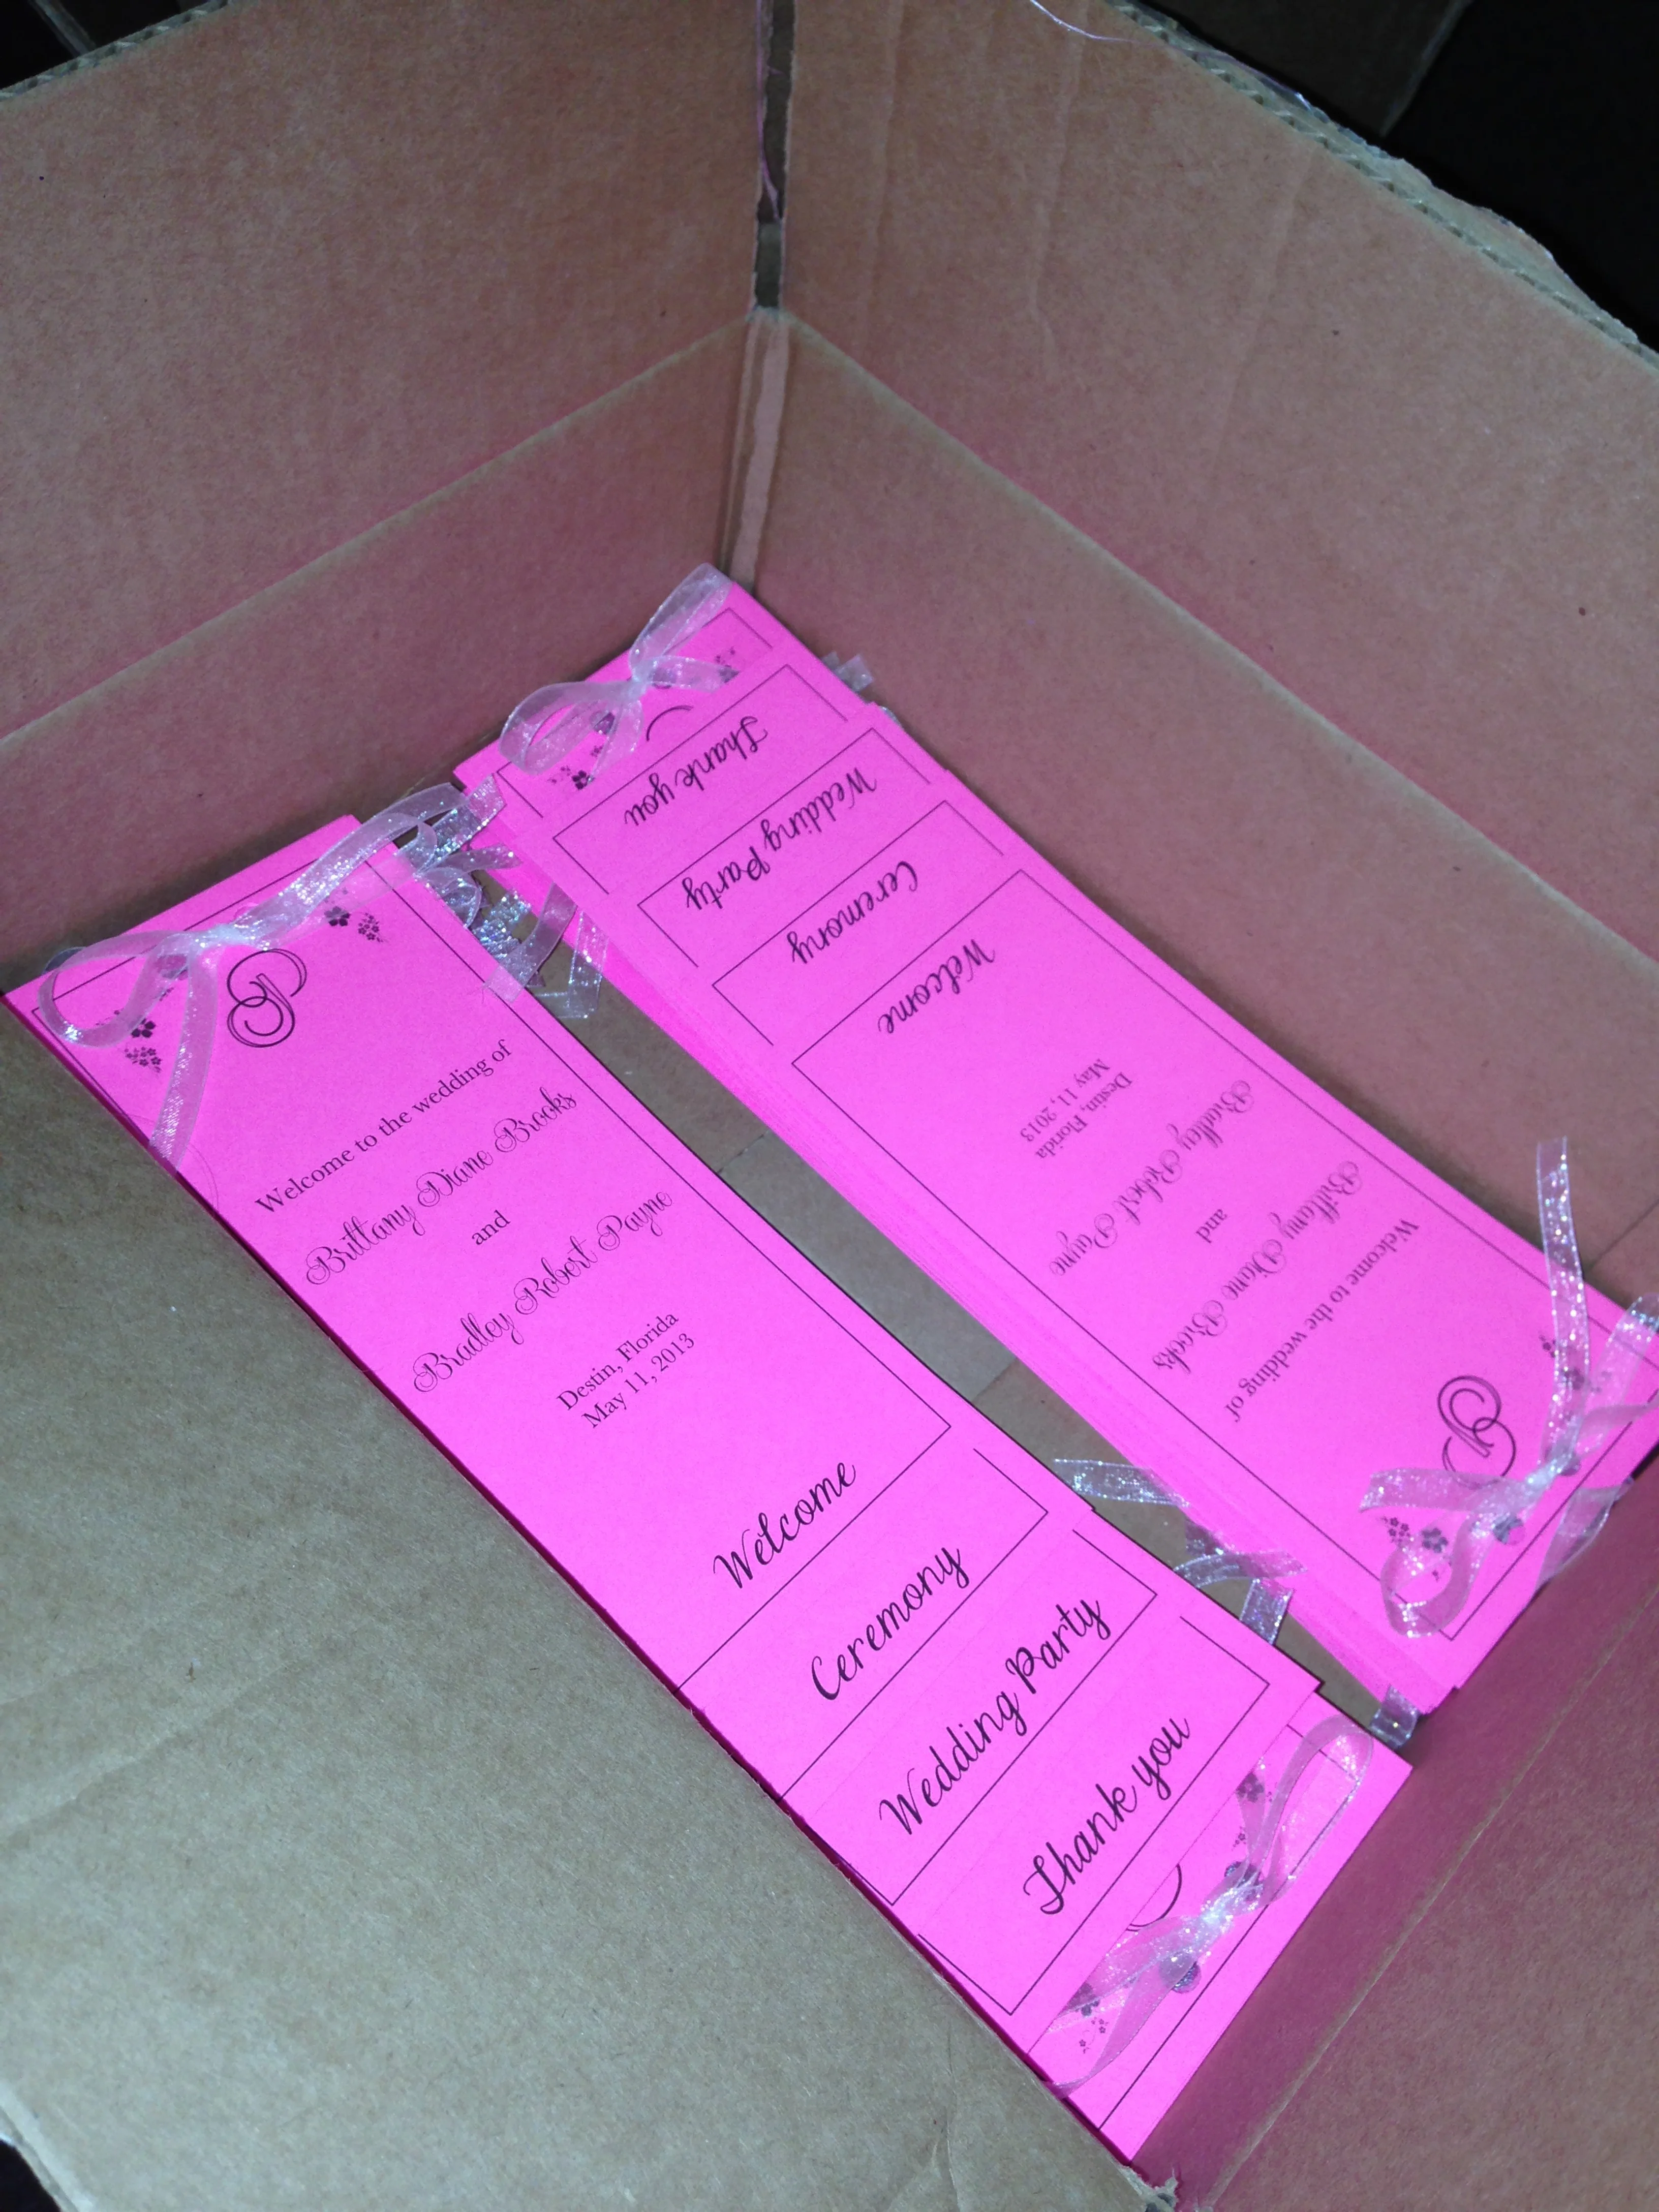
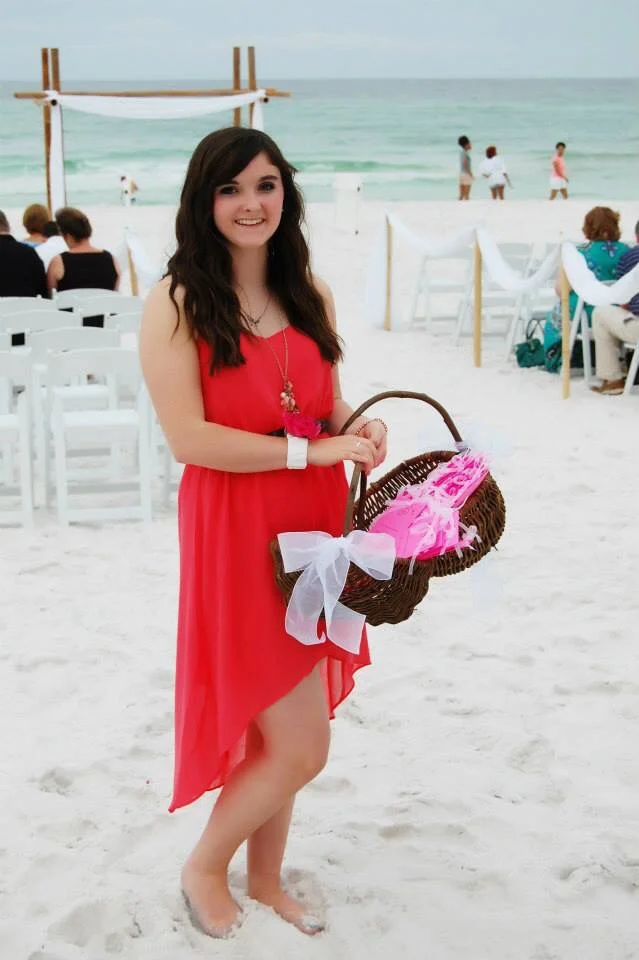
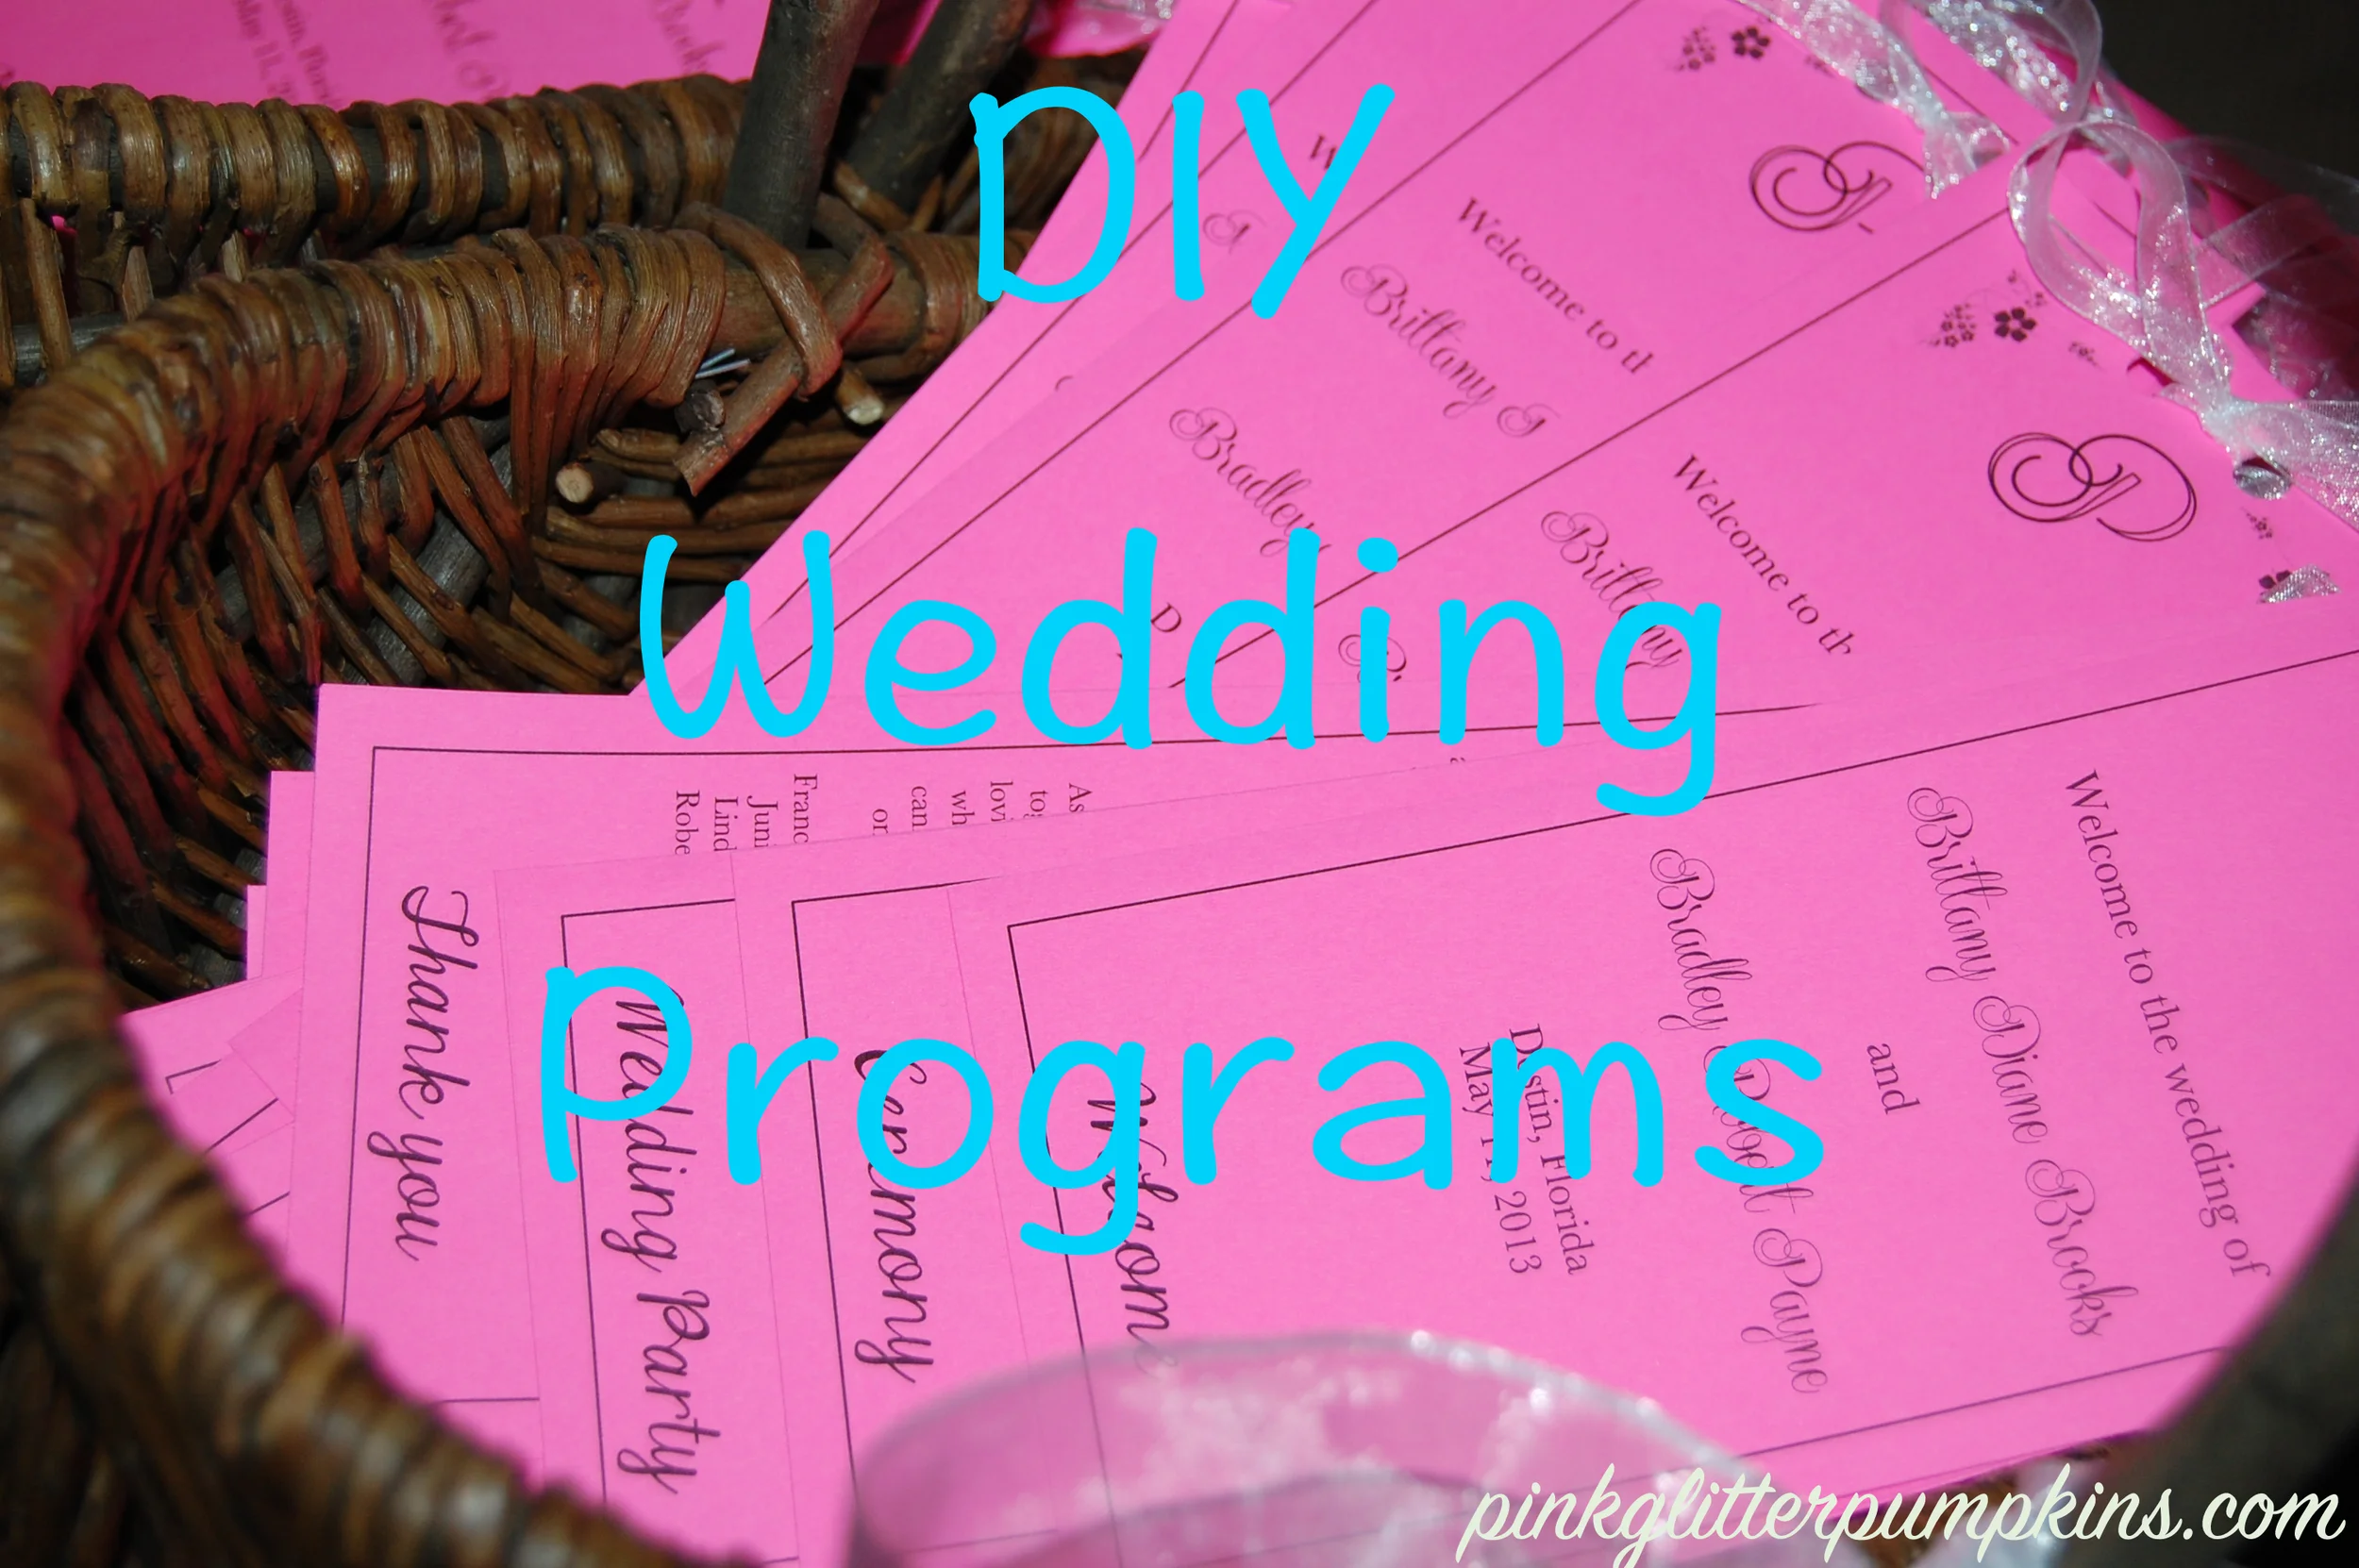
Below are the final programs. I purchased wicker baskets from Hobby Lobby and tied large, white organza ribbon on them.